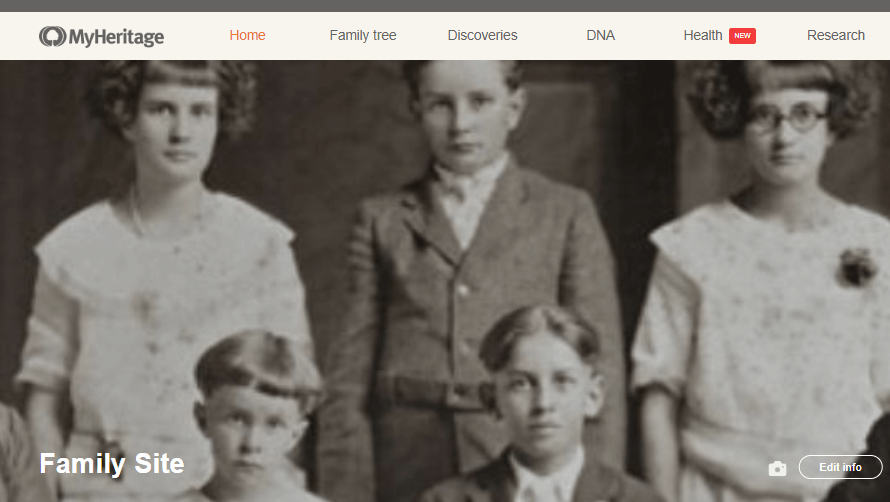
Your family site on MyHeritage is more than a platform for building your family tree. It’s also a space to collaborate and interact with site members, record and celebrate family events, and share photos, stories, and memories with your relatives.
Here are some ways you can fully realize the potential of your family site.
Edit site name
MyHeritage automatically generates a site name for you when you sign up for your account, but if you like, you can change it to anything you like. To do so, click your name on the user strip at the very top of your screen, and select “Site settings” from the drop-down menu. Then, navigate to the “General” settings page, where you can edit the name of your site. For more detailed instructions, watch this video:
Add photos
Uploading photos adds color and personality to your family tree — makes it possible to produce a stunning family tree chart. It’s also a great way to share and preserve family photos both old and new.
You can upload photos directly to the “My photos” section, or add them to the profiles of individuals in your tree. For instructions on adding photos to your tree, see this video:
Invite family members to view and collaborate
Building a family tree is always easier as a group effort: combining the memories and stories of older family members with the curiosity and tech-savvy of the youngest generations. MyHeritage makes it a breeze to share your hard work with your family and invite them to add their own memories, photos, and details to your tree.
To learn how to invite family members to your family site, see this video:
Associate site members with their profiles on your tree
Once you’ve invited family members to view and/or collaborate on your tree, it’s a good idea to associate them with the profiles you’ve created for them. This helps the site understand their relationships to other individuals in the tree and display them correctly.
To associate a site member with their profile on your tree, hover your cursor over the “Home” tab on the navigation bar and select “Site members” from the drop-down menu. Find the site member you’d like to associate with a profile, and under the “Relationship” column, begin typing in their name as it appears on your tree. When the correct profile appears in the list, click it, and then click “Apply.”
If the site member is already associated with an incorrect profile, click “More” under the “Actions” column and select “Fix relationship.” Then type in the correct profile name as described above.
Approve or reject site membership requests
If your privacy settings allow, MyHeritage users may come across your tree when your profile or profiles of your family members turn up in their Smart Matches™ or DNA Matches. If they are interested in seeing more details and/or collaborating with you on your tree, they may request membership to your site. You can accept or reject these requests from the “Site members” page. Their status will be listed under the “Status” column as “Requested membership.” Click “Review request” to see the details of their request, and click “Reject” to reject the request or “Approve” to approve it.
Communicate with site members and other MyHeritage users
You can contact other MyHeritage users through the MyHeritage messaging system. Access the inbox by clicking the envelope icon on the user strip at the very top of your screen.
MyHeritage also has a unique feature that allows you to send an email to all your site members (or some of them) at once. You can do this from the “Site members” page: a “Send email to all members” button will appear at the upper right corner of your screen. This is a convenient way to make important announcements or requests.


