

Adding photos to your family tree really makes your family history come alive — but you can’t get much benefit from them if you don’t know who’s who in your photos! That’s what makes image tagging so important. When you digitize and upload your photos to MyHeritage, taking that extra minute to tag pictures can help save you — and future generations — a lot of time, effort, and frustration in the future.
As an added benefit, image tagging automatically creates profile photos for individuals who don’t have one yet on your tree. This will save you time and help you turn your family tree into a colorful work of art!
But what if you’ve already uploaded loads of photos to MyHeritage and forgot to tag them? Don’t worry: MyHeritage has got you covered. In this article, we’ll show you how to tag your photos on MyHeritage, both individually and in bulk using Photo Tagger.
Tagging individual photos on the MyHeritage website
To tag your photos on the MyHeritage website, visit “My photos” under the Family tree tab in the navigation bar and click on the photo you’d like to tag. This will open the individual photo page:
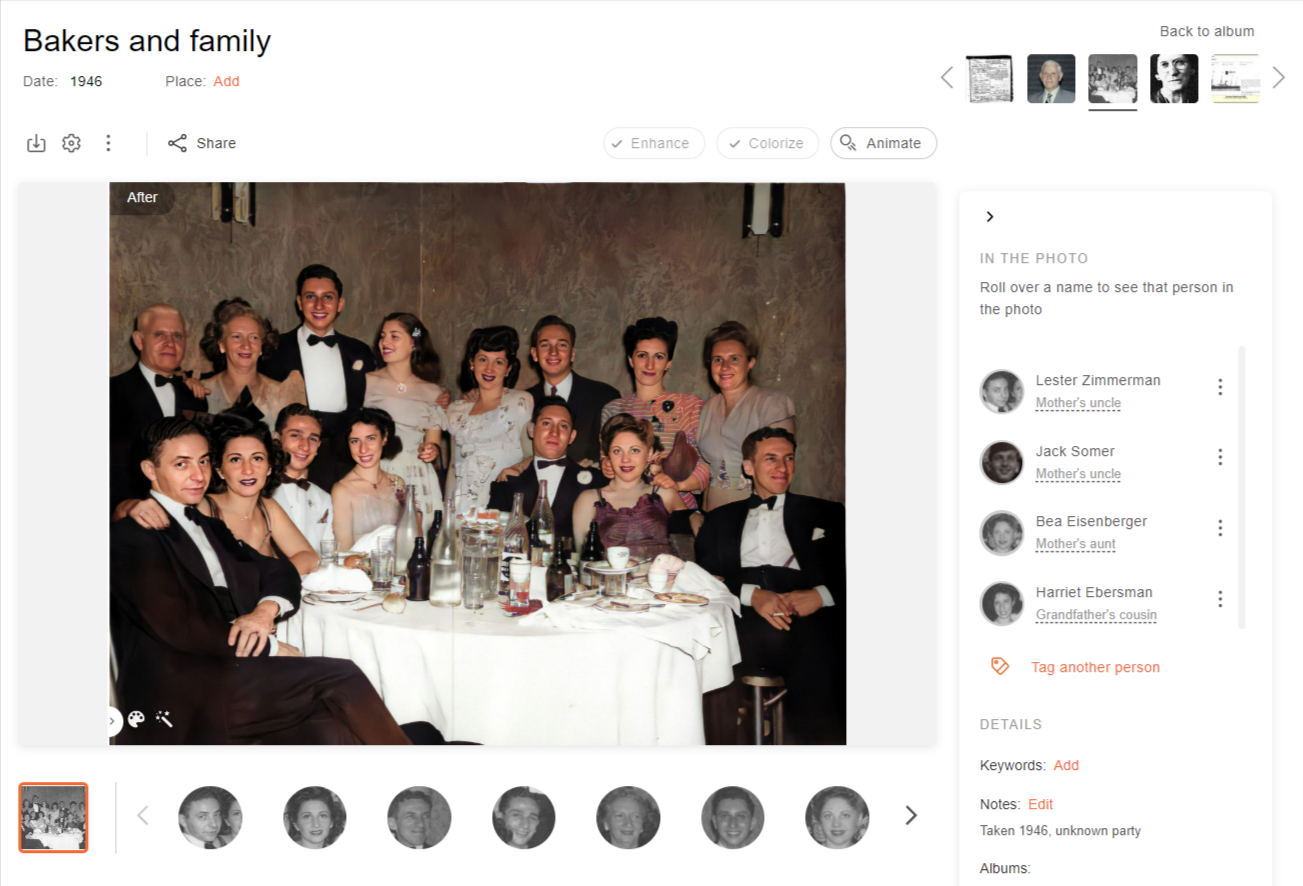
It’s a good idea to give the photo a title that will help you understand its contents. You can change the title by clicking on the existing title, editing it, and clicking somewhere else on the screen. You can also add a date and a place for the photo below the title, and in the right-hand sidebar, you can also add keywords and notes under “Details.”
To tag a person in the photo, click “Tag person” under “In the Photo” at the top of the right-hand sidebar. A frame will appear on the photo, which you can drag, drop, and adjust to fit over the face of the individual you wish to tag. Then, start typing the name of the person and select it from the menu.
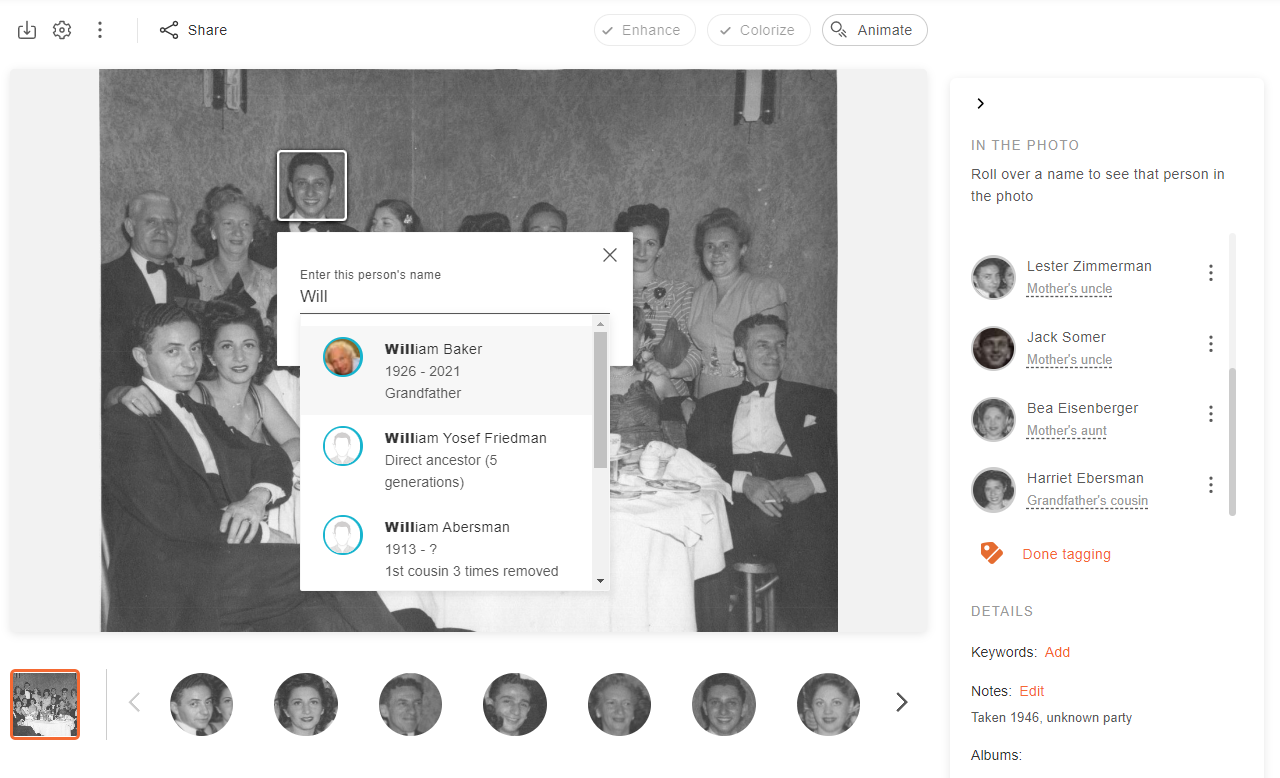
To tag another person, click on that person’s face and enter their name as you did with the previous tag.
When you’re done tagging, click the X on the pop-up or “Done tagging” on the right-hand sidebar.
Any individuals who have been tagged in a photo will appear in the sidebar. You can click the three dot icon to open a menu allowing you to view all photos of that individual, that person’s profile page, or that person in the tree, or to delete this tag.
Tagging individual photos on the MyHeritage mobile app
To tag people in a photo on the free MyHeritage mobile app, enter the Photos section via the home screen or the app menu, and tap on the photo you wish to tag. Then, tap the tag icon at the top of the screen to activate tagging mode.
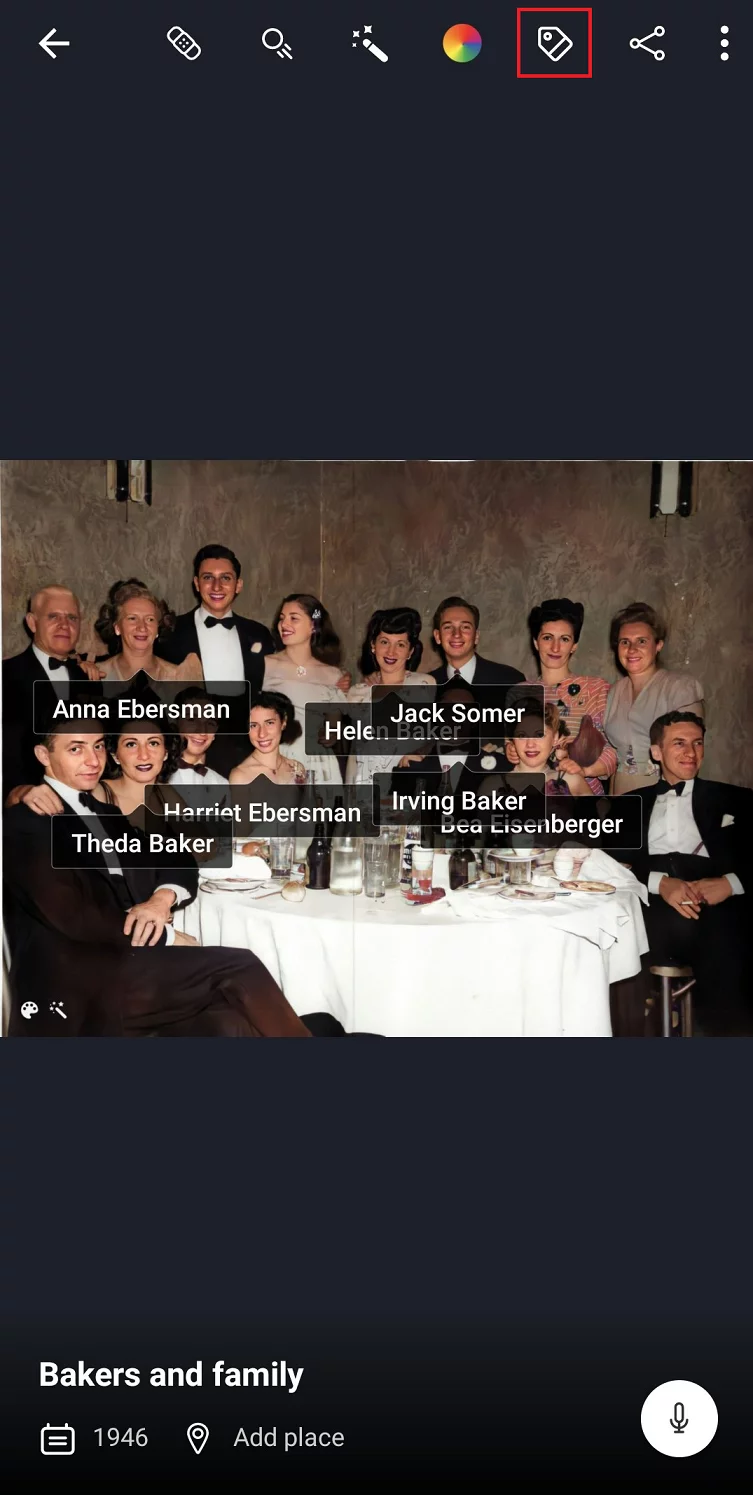
Tap on an individual’s face and drag, drop, and adjust the frame, then enter and select the individual’s name in the strip at the top.

To tag another person, tap that person’s face and repeat the process. When you’re done tagging the photo, tap the tag icon again to turn off tagging mode.
Tagging in bulk with Photo Tagger
If you upload a whole bunch of photos together, or if you have a large collection of photos already on MyHeritage that haven’t been tagged yet, you don’t need to go through each photo individually to tag them: you can use Photo Tagger.
Photo Tagger is a handy feature available both on the mobile app and on the MyHeritage website that groups together the faces in your photos that belong to the same individual and allows you to tag them all in one go. Photo Tagger can even identify faces as they change over time — such as from childhood to adulthood — and even spots changes in individual appearance, such as facial hair.
Using Photo Tagger on the web
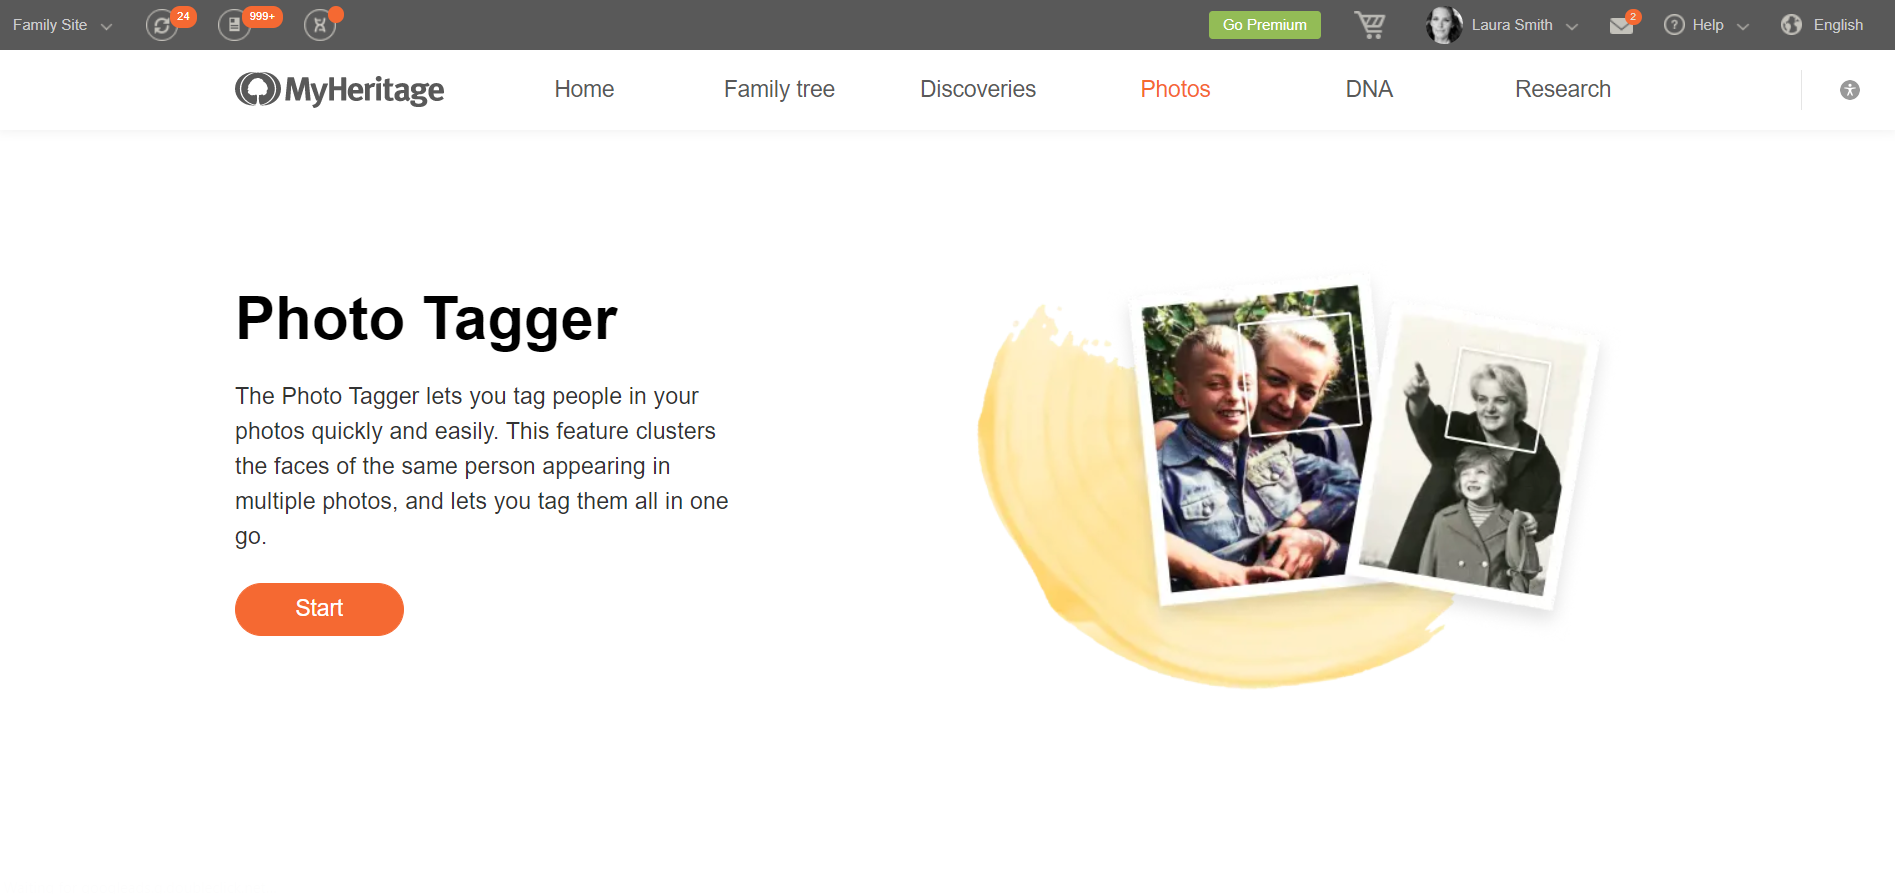
You can access Photo Tagger on the MyHeritage website by hovering over the Photos tab in the navigation bar and selecting “Photo Tagger.”
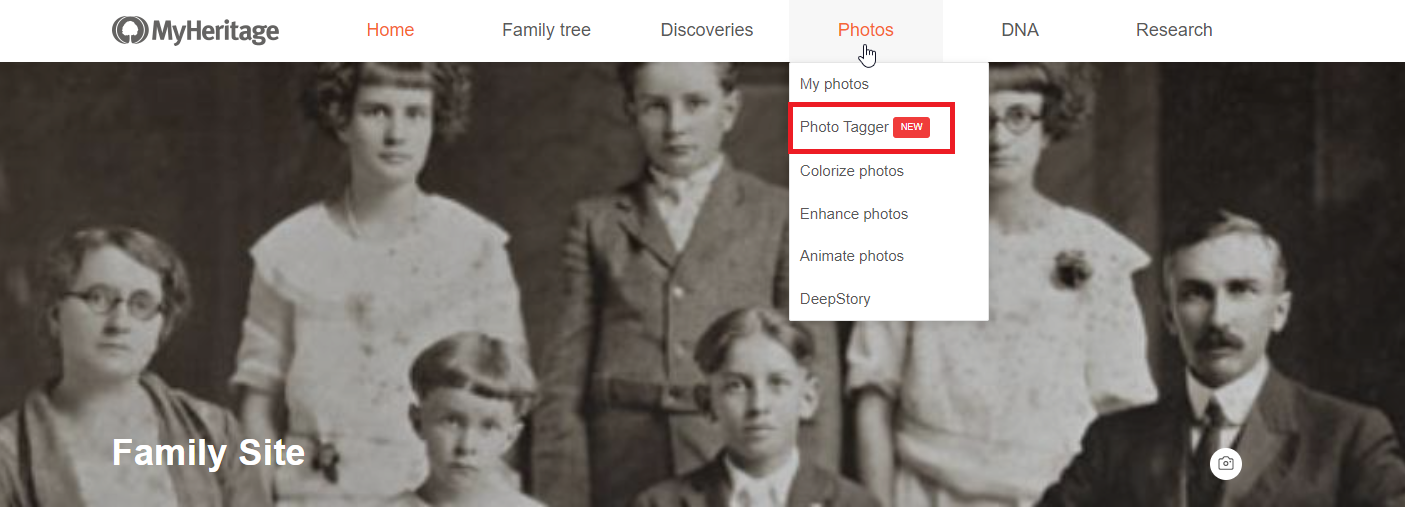
This will bring you to the Photo Tagger page. Click “Start” to begin.
Before you use Photo Tagger for the first time, you’ll be asked to accept the terms and conditions. Then, Photo Tagger will start scanning your photos and calculating suggestions for you. This typically takes a minute or two, but if you have thousands of photos, it may take longer. Feel free to navigate away from this page while you wait — you’ll receive an email when the suggestions are ready. If you stay on the page, you’ll be automatically redirected to the Photo Tagger results when they have been calculated.
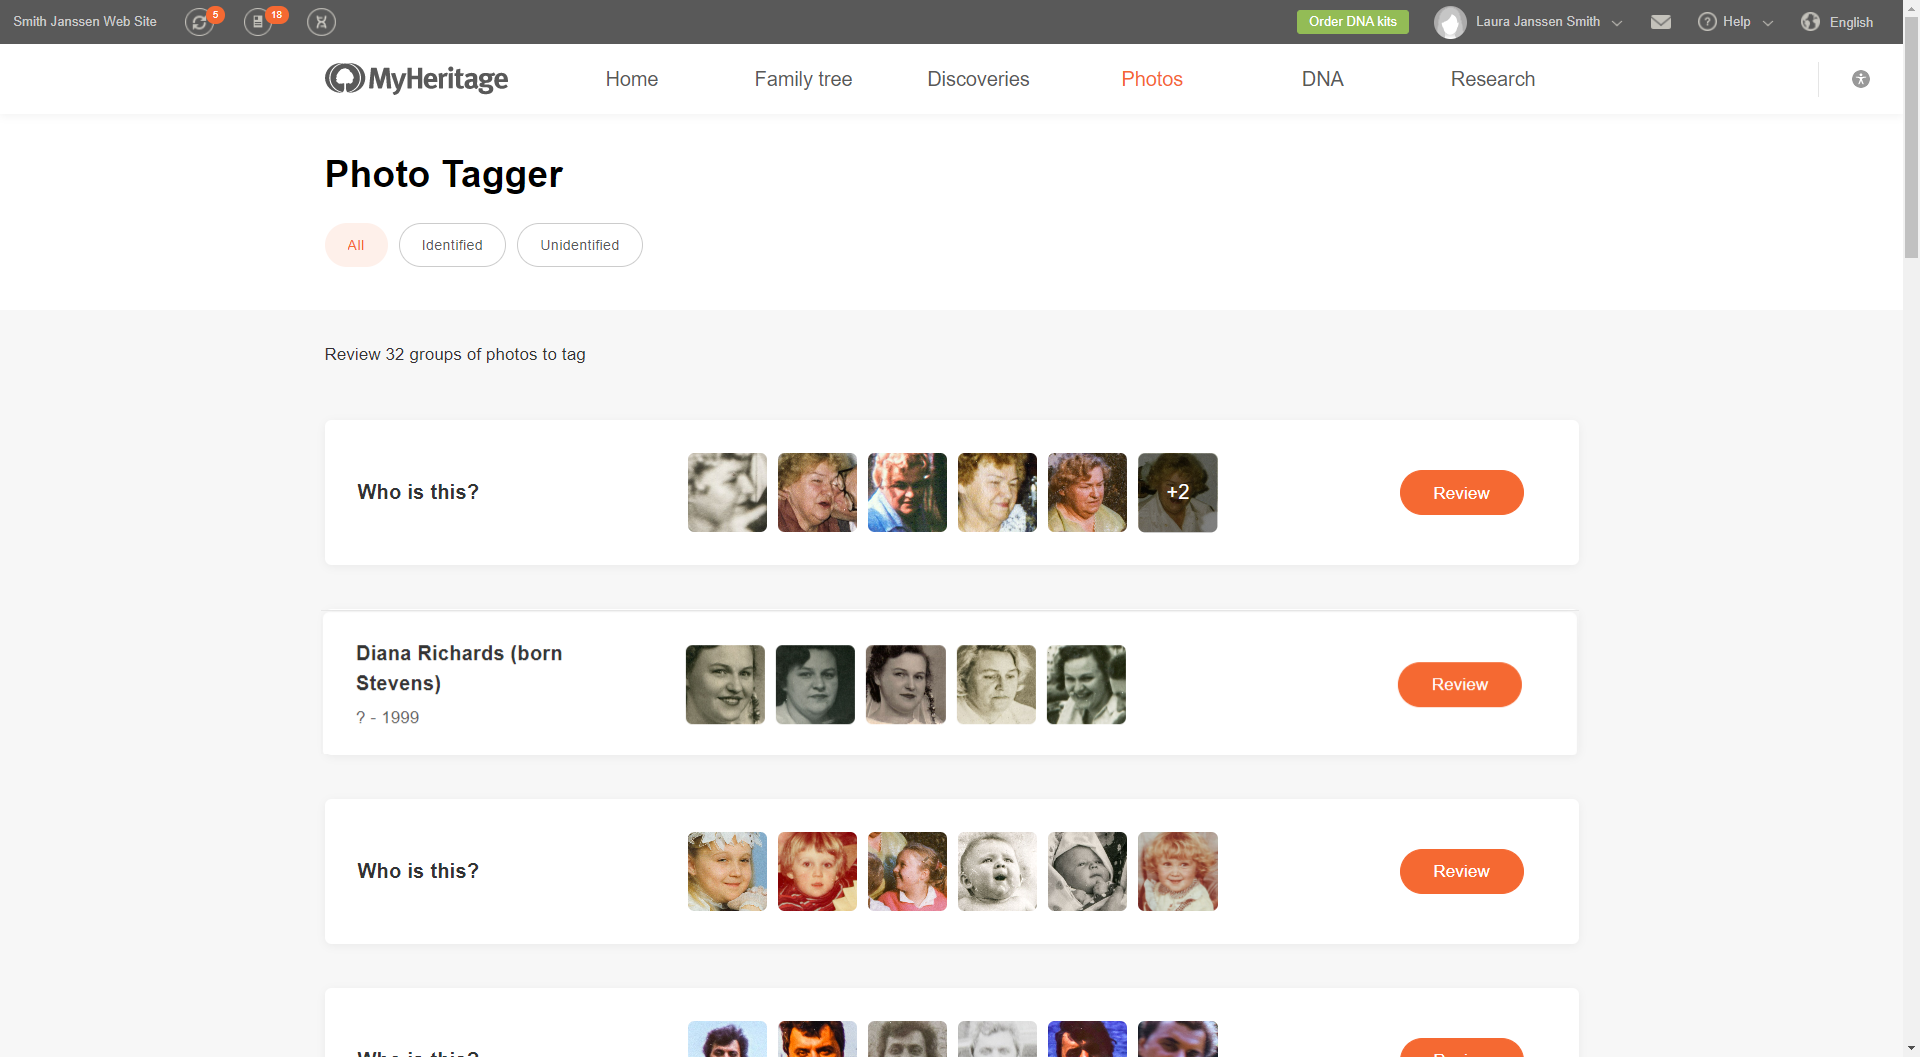
Tagging suggestions can be filtered into two categories: identified individuals and unidentified individuals. Photo Tagger does its best to identify deceased individuals from your family tree; living individuals will remain unidentified, and you’ll need to enter their names before you can tag them.
Click on any group to review the suggestions.
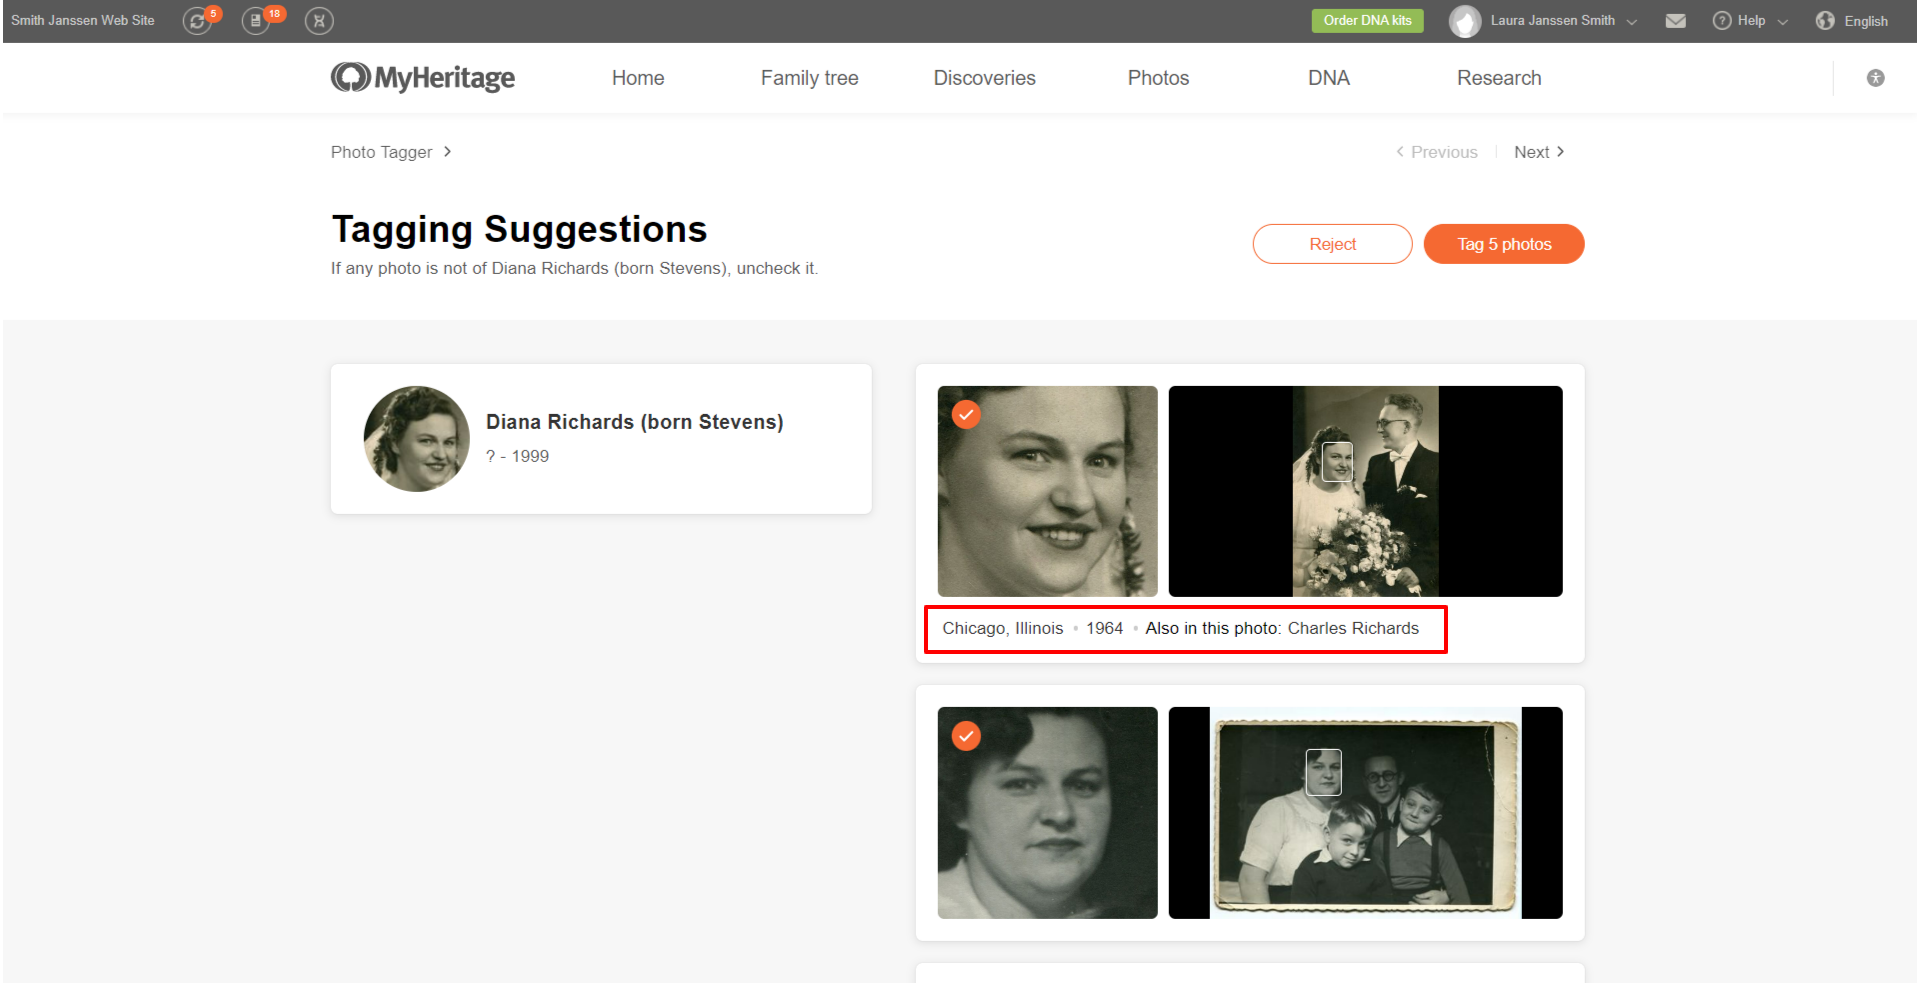
Each suggestion features a close-up of the face of the identified individual on the left, with a thumbnail of the full photo on the right. This convenient view is unique to MyHeritage and gives you context, which can help you understand whether the photo indeed belongs to the identified person.
Below each suggestion, you’ll see any details you’ve entered about this photo, such as its title, date, place, and anyone else who is already tagged in the photo.
You can also click on the thumbnail of the original photo to enter full screen mode and view the photo up close.
As you review the suggestions, you can uncheck any photo that doesn’t match the individual.
If you’re reviewing suggestions for an unidentified individual, enter the person’s name on the left side of the screen. You can only tag people who are already in your family tree.
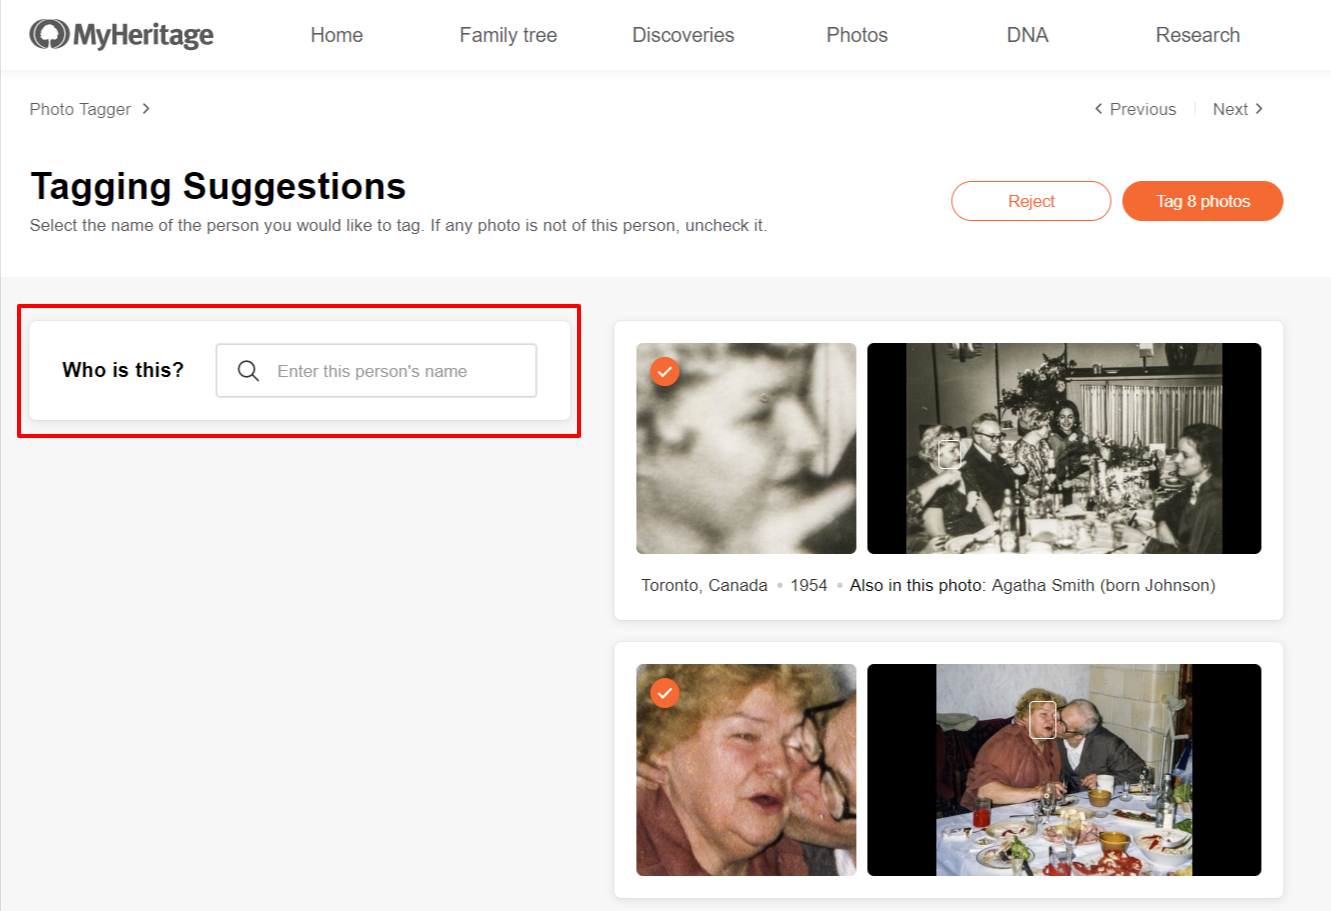
When you’re done, click “Tag photos.” If the photos don’t match the individual, or if the group shows photos for too many different people, click “Reject.” If you unchecked any photos or rejected a group, those photos will be snoozed and you’ll receive new tagging suggestions for them in 30 days.
Using Photo Tagger on the mobile app
To access use Photo Tagger on the mobile app, make sure you have the latest version of the MyHeritage mobile app from the App Store or Google Play.
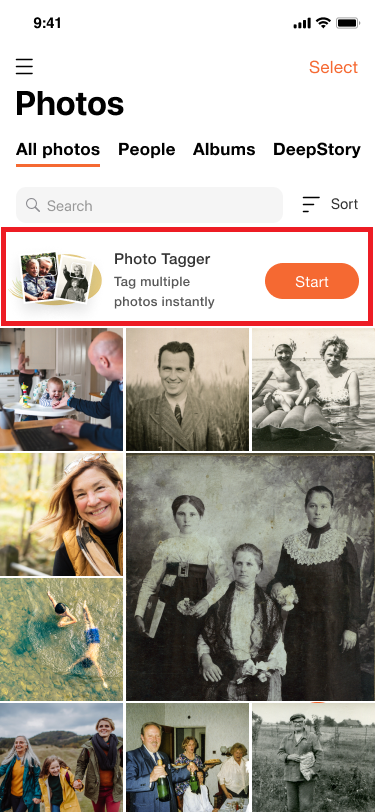
To get started, tap “Photos” from the app home screen and then the “Start” button on the top of the Photos section screen.
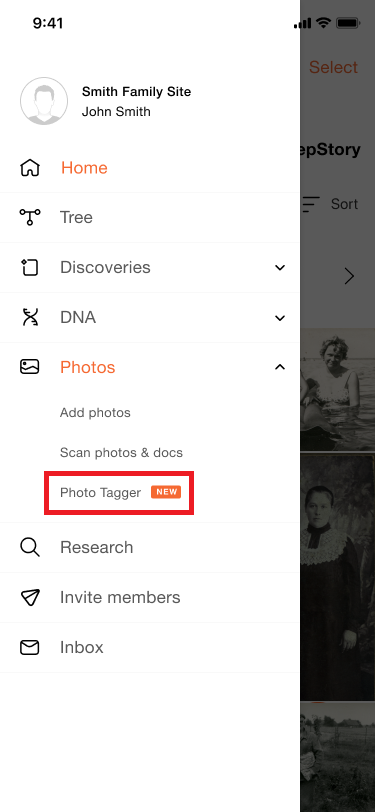
You can also access Photo Tagger from the app menu:
Before you use Photo Tagger for the first time, you’ll be asked to accept the terms and conditions. Once you accept them, the feature will start scanning your photos to calculate suggestions for photos of the same individual to tag. As long as Photo Tagger is enabled, it will automatically scan any new photos you upload to identify tagging suggestions.
Once your suggestions are ready, you’ll receive an email notification and a banner will appear at the top of the Photos section on the app to let you know that you can start tagging.
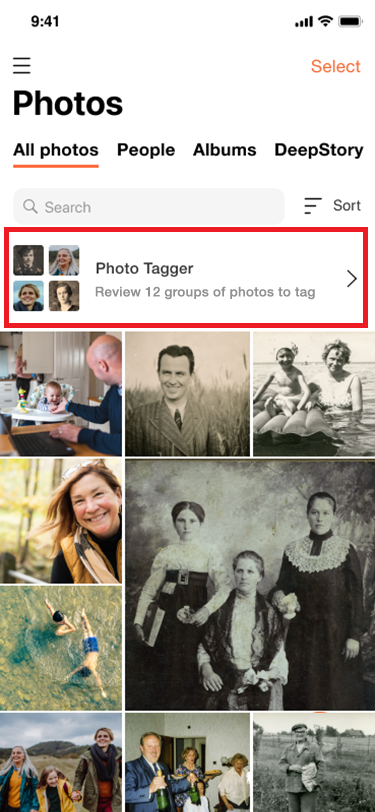
Tap on the banner to view the suggestions. You’ll see a list of groups of photos that the algorithm believes feature the same person. Just like on the web version, you can filter the list by Identified and Unidentified groups using the buttons at the top of the screen.
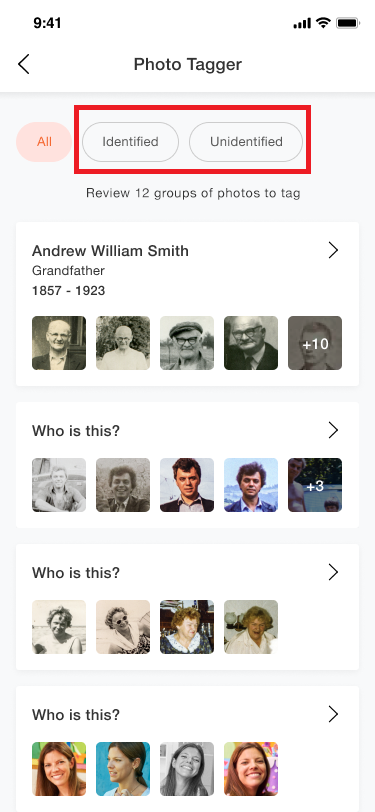
Tap on a group to see the tagging suggestions for that person.
If this individual is unidentified, you’ll need to enter their name at the top. Start typing in the search box and tap on their name.
On the list of suggestions, you’ll see a close-up image of the person’s face side by side with the full original photo, allowing you to view the full context of the photo.
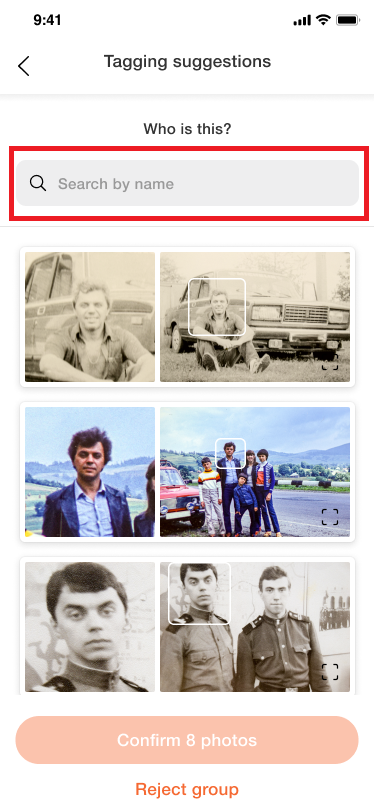
If you’d like to take a closer look at the photos, tap the thumbnail on the right side to view the full-size photo. You can swipe right or left to review the other photos in the group one by one, or return to the previous page to view the full list of photos. If you spot any mistaken suggestions, you can uncheck them.
When you’re done, tap “Confirm.” This will tag the person in all the photos that remained checked.
You can also tap “Reject group” if too many of the photos don’t match the individual identified.
A note on privacy
Photo Tagger utilizes facial recognition technology to identify the same person in different photos. Your privacy is of utmost importance to MyHeritage and is strictly protected. As with any personal data, MyHeritage will never share your information with third parties, and tagging suggestions identified by name are provided only for individuals marked as deceased in your tree.
Before using Photo tagger, you’ll be asked to give your consent so Photo Tagger can create facial recognition models using your photos. You can withdraw your consent at any time via App Settings > Photos. This will remove any tagging suggestions that were calculated before.
To maximize privacy, photo tagging suggestions are stored on MyHeritage for a limited time only. If you don’t open Photo Tagger and either accept or reject them for 3 months, they will be deleted. You can always revisit the Photos section and have Photo Tagger recalculate your suggestions.
Viewing and organizing your tagged photos
Once your photos have been tagged, it will be much easier for you to keep your photos organized. You’ll be able to instantly pull up all the photos that feature a particular individual in the Photos section of the site by finding the person under “People” in the Photos section of the site or app.
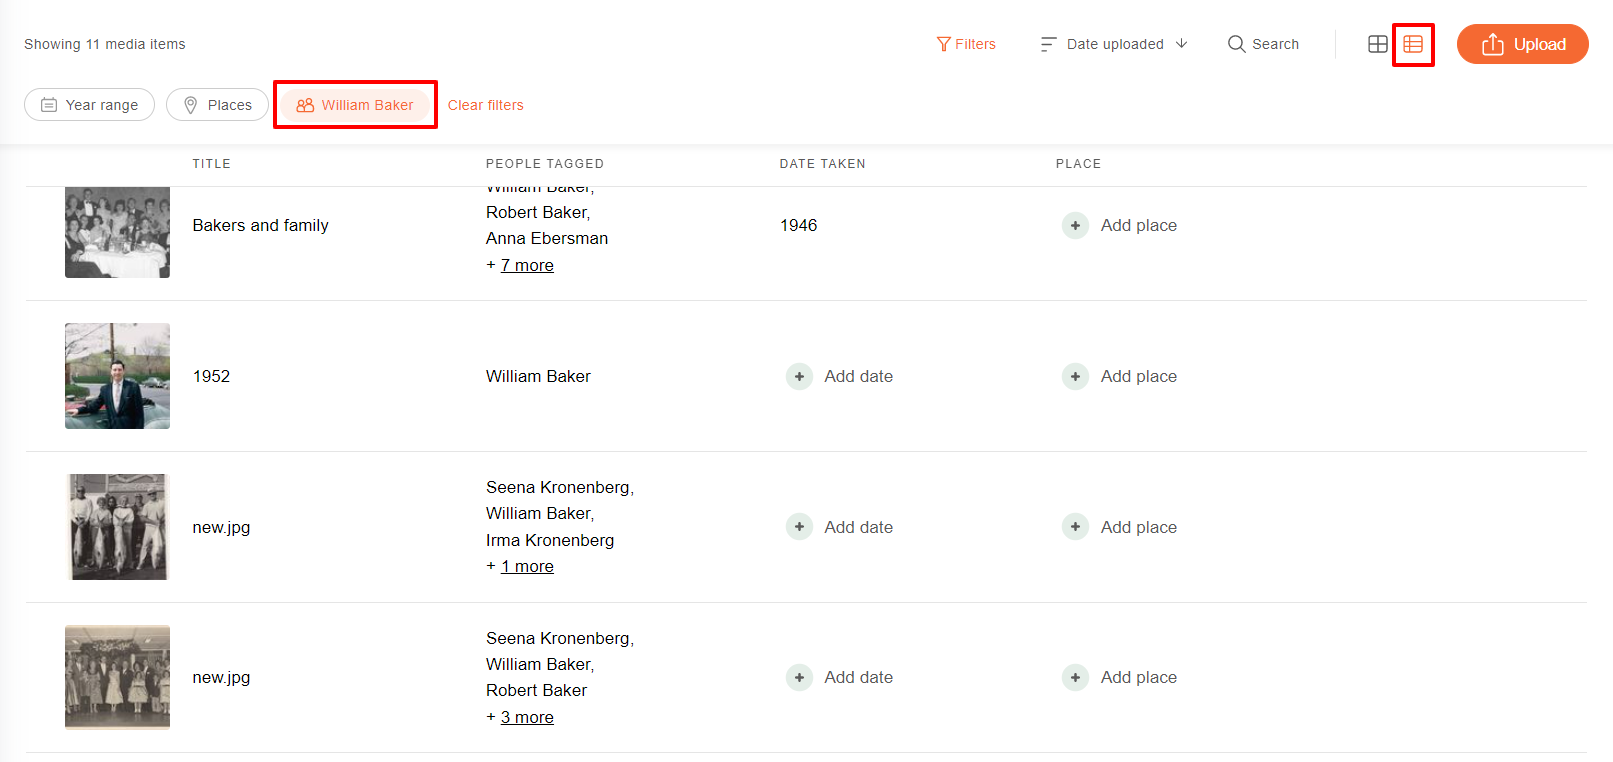
When using List view on the Photos section of the website, you’ll be able to use the “People” filter at the top of the page to view only photos containing people that you select. Click the List view icon next to the Upload button to access List view.
Learn more about organizing and managing your photos in the following MyHeritage Knowledge Base resources:
- How to Manage Your Photos on MyHeritage: how-to video
- Strategies to Get Past Overwhelm and Enjoy Your Photos: webinar with Maureen Taylor
- Organizing Family Photos on MyHeritage: webinar with Daniel Horowitz